The need for splash guard replacement depends on several factors, including the age and condition of the vehicle, as well as the amount of wear and tear that the splash guards have experienced.
Over time, splash guards can become damaged or worn out, either from exposure to the elements or from impacts with debris on the road. This can lead to a number of problems, including decreased protection against road hazards and reduced aesthetic appeal.
Impact of damaged splash guard:
If the splash guards are damaged or missing, road debris can more easily strike the underside of the vehicle, potentially damaging the engine, suspension components, or other sensitive parts. This can be especially problematic for vehicles that are frequently driven on dirt roads or in areas with inclement weather, where the risk of debris accumulation and other hazards is high.
In addition to their protective function, splash guard replacement can also help to improve the appearance of the vehicle, giving it a more finished and polished look. This can be especially important for owners who are concerned about maintaining the resale value of their vehicle.
Nonetheless, if the splash guards on a vehicle are damaged or missing, it may be necessary to replace them in order to ensure proper protection against road hazards and to maintain the appearance of the vehicle
Replacing splash guard process:
Replacing a splash guard, also known as a mud flap or mud guard, can be a relatively simple task that can help prevent mud, water, and debris from getting onto your vehicle's body and undercarriage. Here's a detailed process on how to replace a splash guard:
Materials Needed:
- New splash guard
- Screwdriver
- Wrench or pliers (depending on your vehicle)
Step-by-step guide:
Step 1: Locate the damaged splash guard.
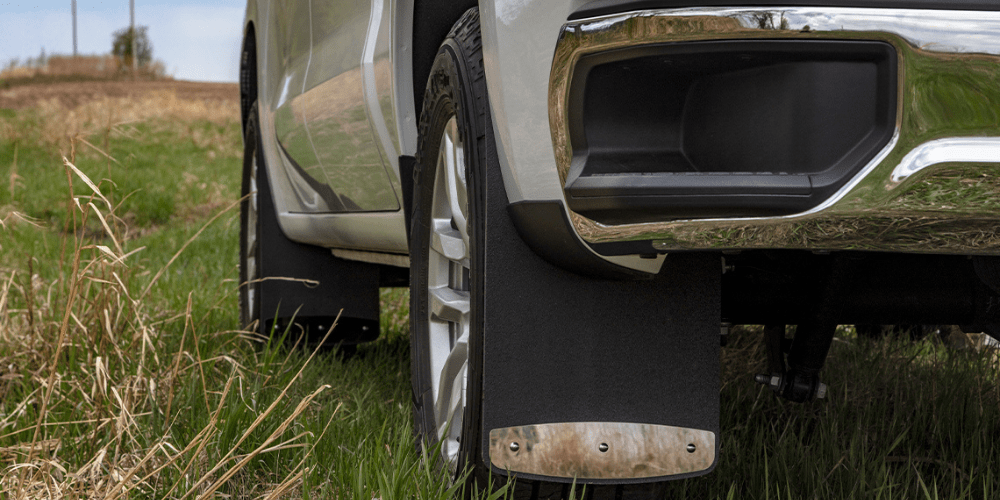
The splash guard is usually located behind the wheels and is attached to the fender liner or bumper. Find the damaged splash guard and remove it from the vehicle.
Step 2: Remove the screws and fasteners holding the splash guard in place.
Use a screwdriver or wrench to remove the screws and fasteners that hold the splash guard in place. Depending on your vehicle, there may be different types of screws or fasteners, such as clips or bolts. Keep these screws and fasteners in a safe place to reuse later.
Step 3: Remove the old splash guard.
After you remove the screws and fasteners, gently pull the old splash guard off the vehicle. Be careful not to damage any other parts of the car, such as the fender liner or bumper.
Step 4: Install the new splash guard.
Line up the new splash guard with the mounting holes in the fender liner or bumper. Attach the new splash guard by using the screws and fasteners that you removed from the old splash guard. Tighten the screws and fasteners securely but do not overtighten, as this can damage the plastic of the splash guard.
Step 5: Test the new splash guard.
Make sure that the new splash guard is securely attached and does not rattle or vibrate while driving. Test the splash guard by driving through puddles or splashing water onto the wheel to ensure that it is effective in preventing water and debris from splashing up onto the car.
Lastly, replacing a splash guard is generally a quick and easy task that can be completed in just a few minutes. If you have any difficulty during the process, consult your vehicle's owner manual or take your car to a professional mechanic.